
Desktop computers are the thankless workhorses for many of us. Whether we are using them to complete work, write a novel or just do some gaming we often take them for granted until they begin to give us trouble.
Over time, dust will inevitably begin to build up in and around your computer’s internal components. This dust can clog up fans and affect the overall cooling ability of your computer, leading it to overheat.
Overheating computers are never a good thing as important component can be damaged, decreasing their lifespans. In order to keep your computer’s internals in top health, give it a service every 6 to 12 months by using this cleaning guide.

Step 1: Completely turn off and unplug your computer
Never try to clean your computer while it’s running. Always shutdown your computer and switch off its power supply before attempting to open it up and clean it.
After the computer has gone completely quiet, unplug all of its components and remove it from its normal sitting area. Find a nice flat space where you can begin the cleaning job and remove the side of the computer case, exposing its internal components.
Step 2: Use compressed air to clean the internal components
A can of compressed air can usually be purchased in a computer or hardware shop. The can should be used with its straw attachment in order to make sure the air is focused in an effective manner.
Do not to spray too close to the internal components and ensure that the end of the straw is at least a few inches away from the surface it is spraying.
Step 3: Use compressed air to clean the internal fans
Begin using the compressed air to clean the fans around the case. Make sure to hold the blades of the fan in place so that they don’t spin when the air hits them.
You can apply rubbing alcohol and clean the fan blades with a cotton swab for the final touch. If the fans are too difficult to reach then remove them from the case and clean them thoroughly.
Step 4: Clean the power supply
Remove the build-up of dust in the power supply with compressed air. Make sure to remove any dust filters and clean them as well.
Step 5: Clean the heat sink and fan
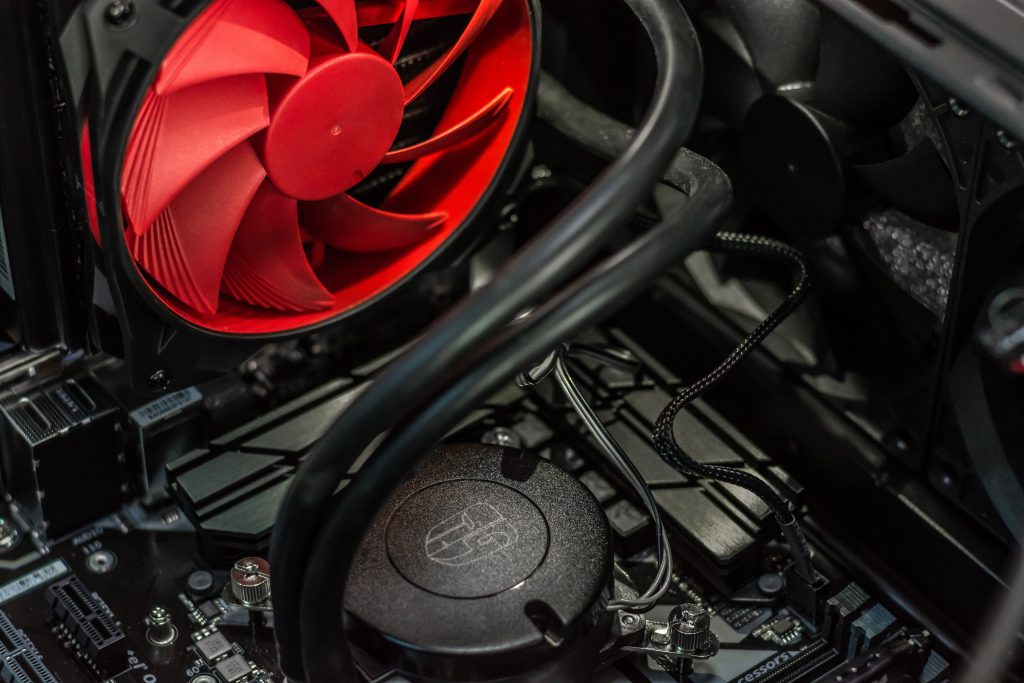
Make sure to clean the heat sink and fan attached to your computer’s processor. Use the can of compressed air in short bursts.
If there is too much dust for the compressed air to clean then you may need to remove the heat sink and fan off of the processor.